THE PROCESS
1
Research
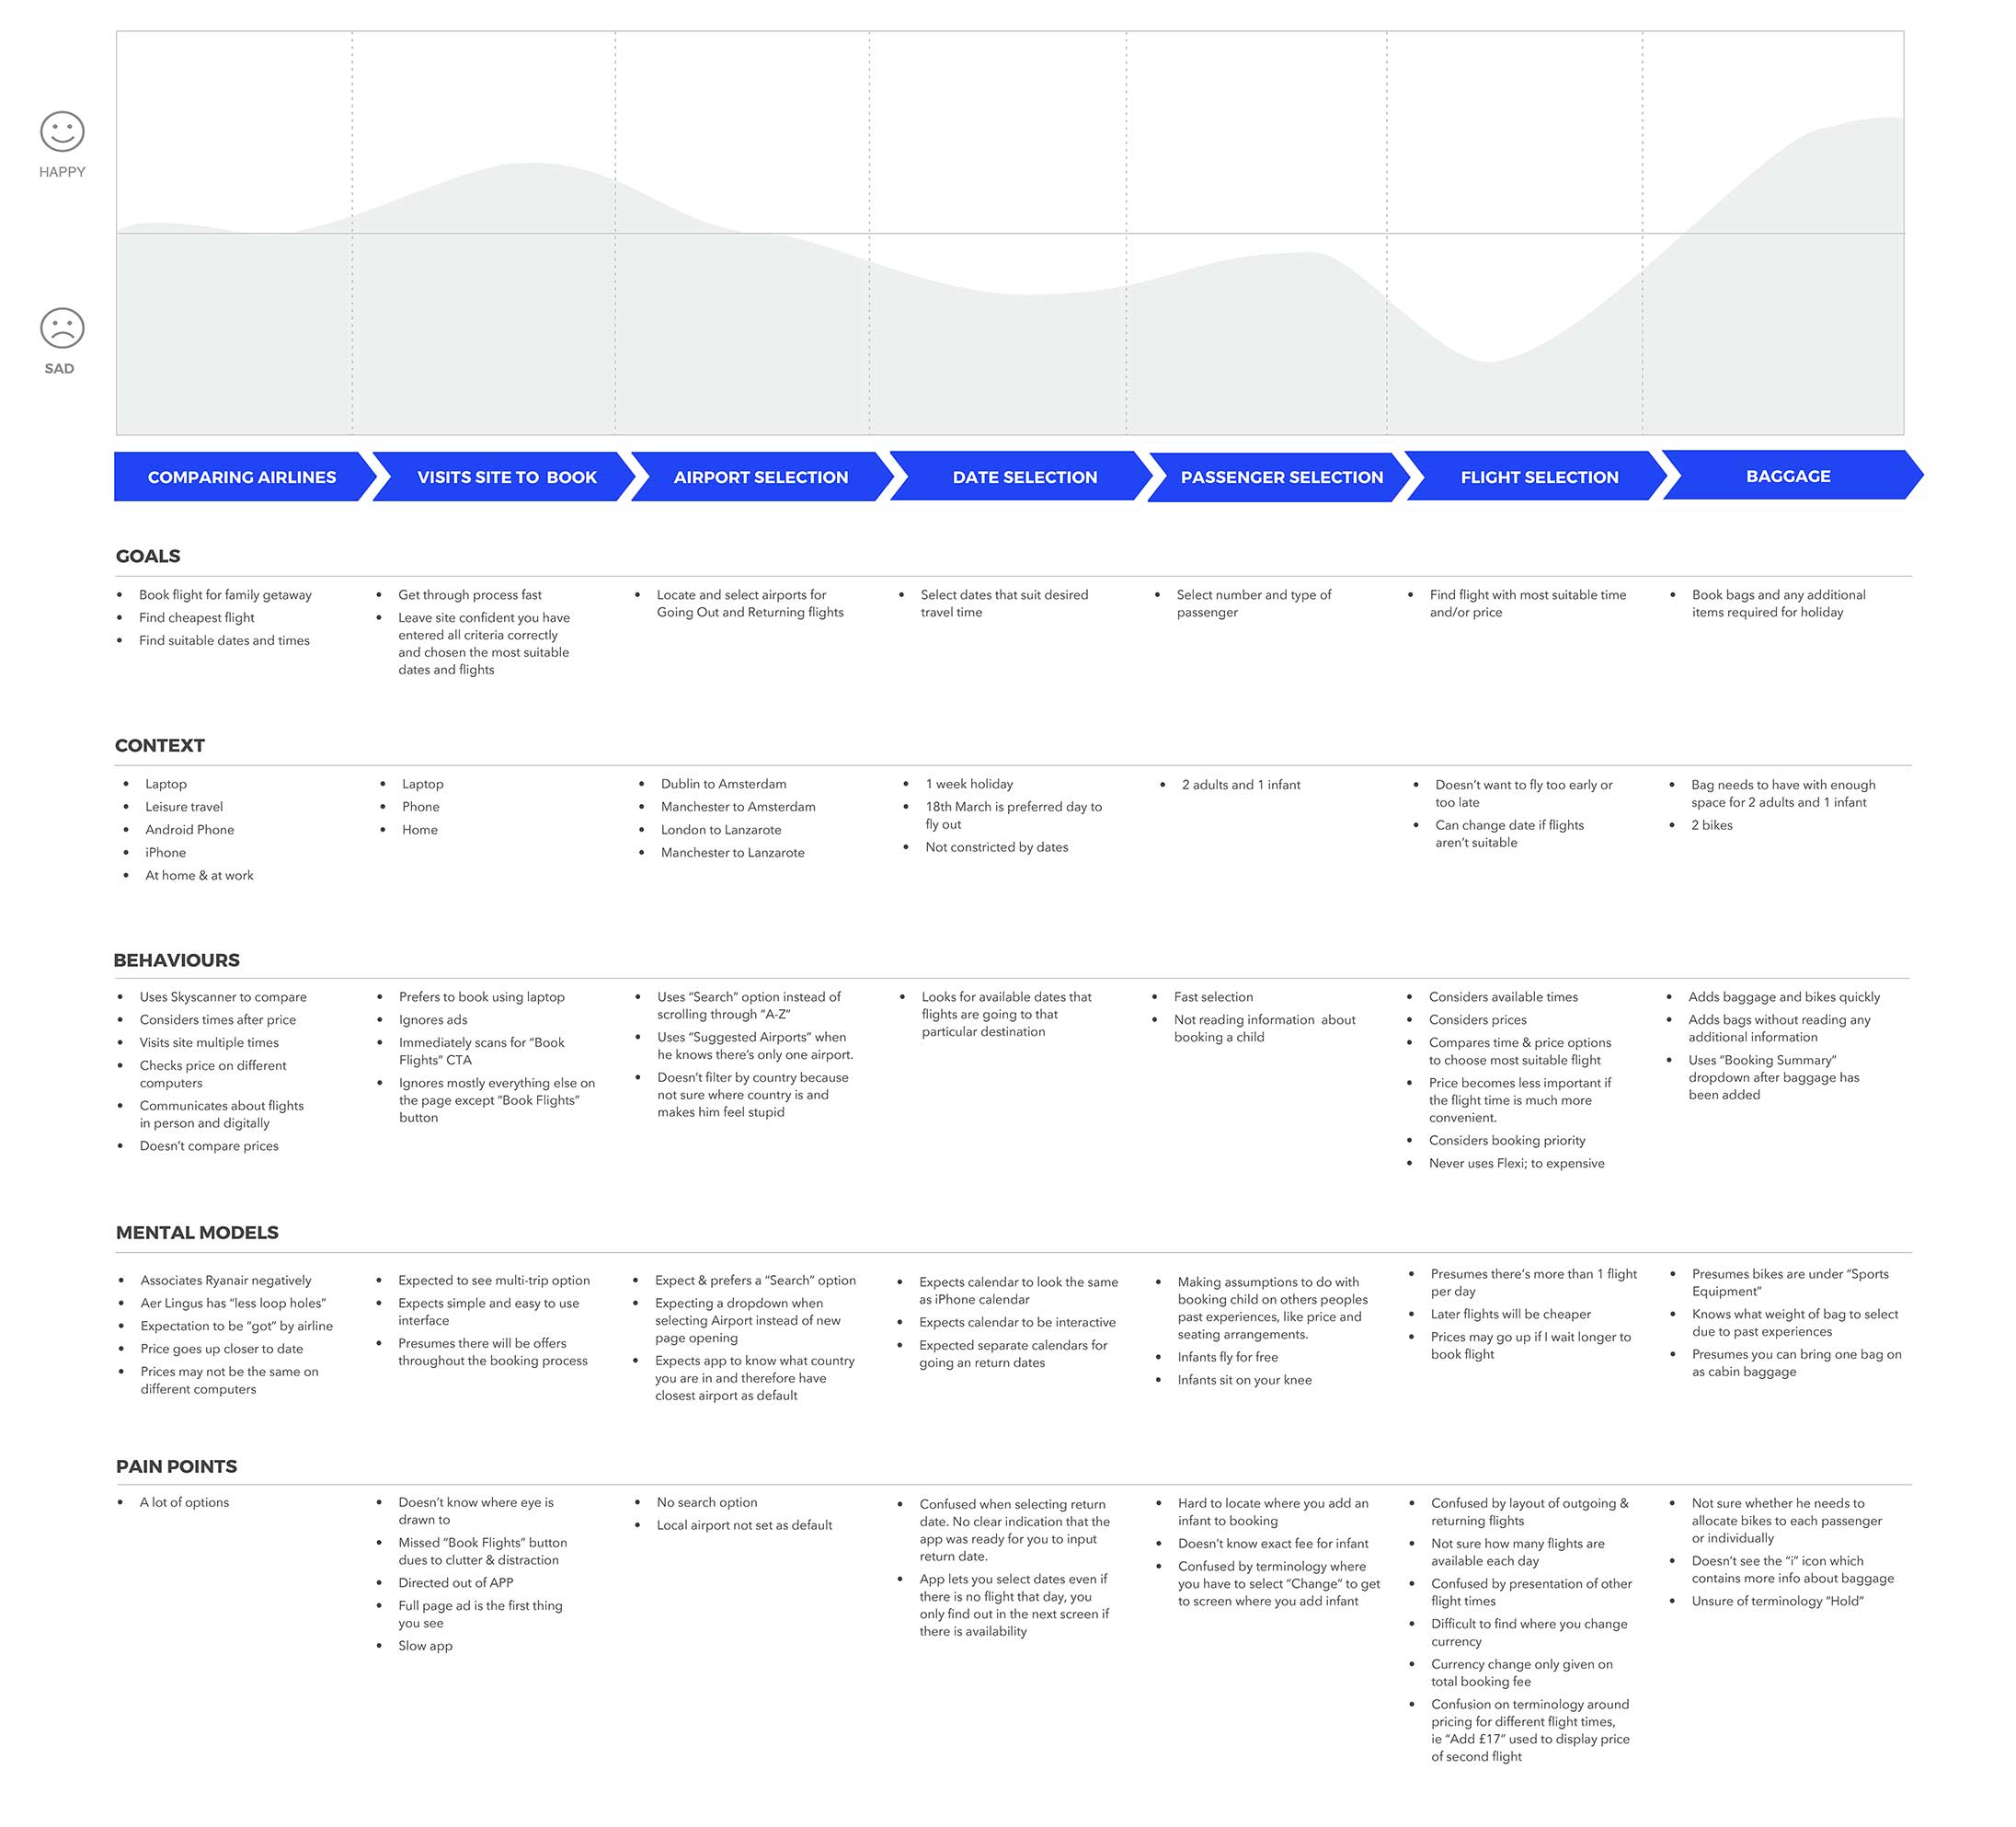
For the research phase of the project I used the following methods: Usability Tests, Depth Interviews, Online Survey & Benchmarking.
Usability Tests
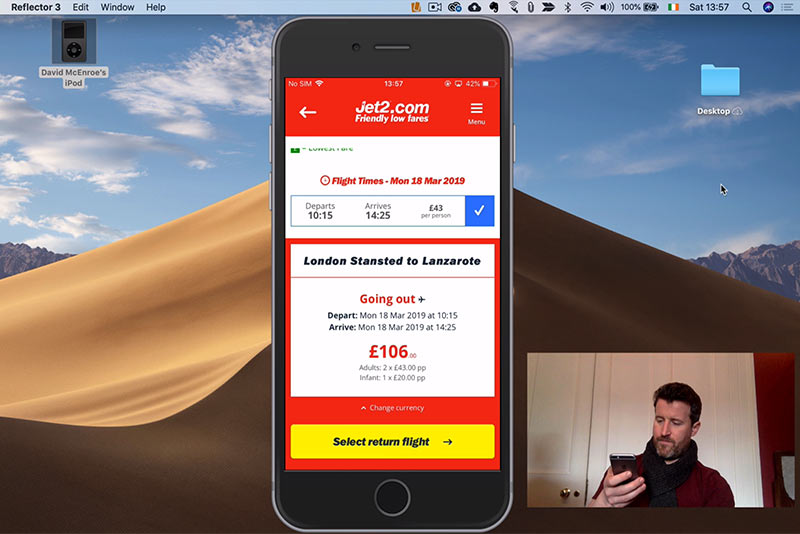
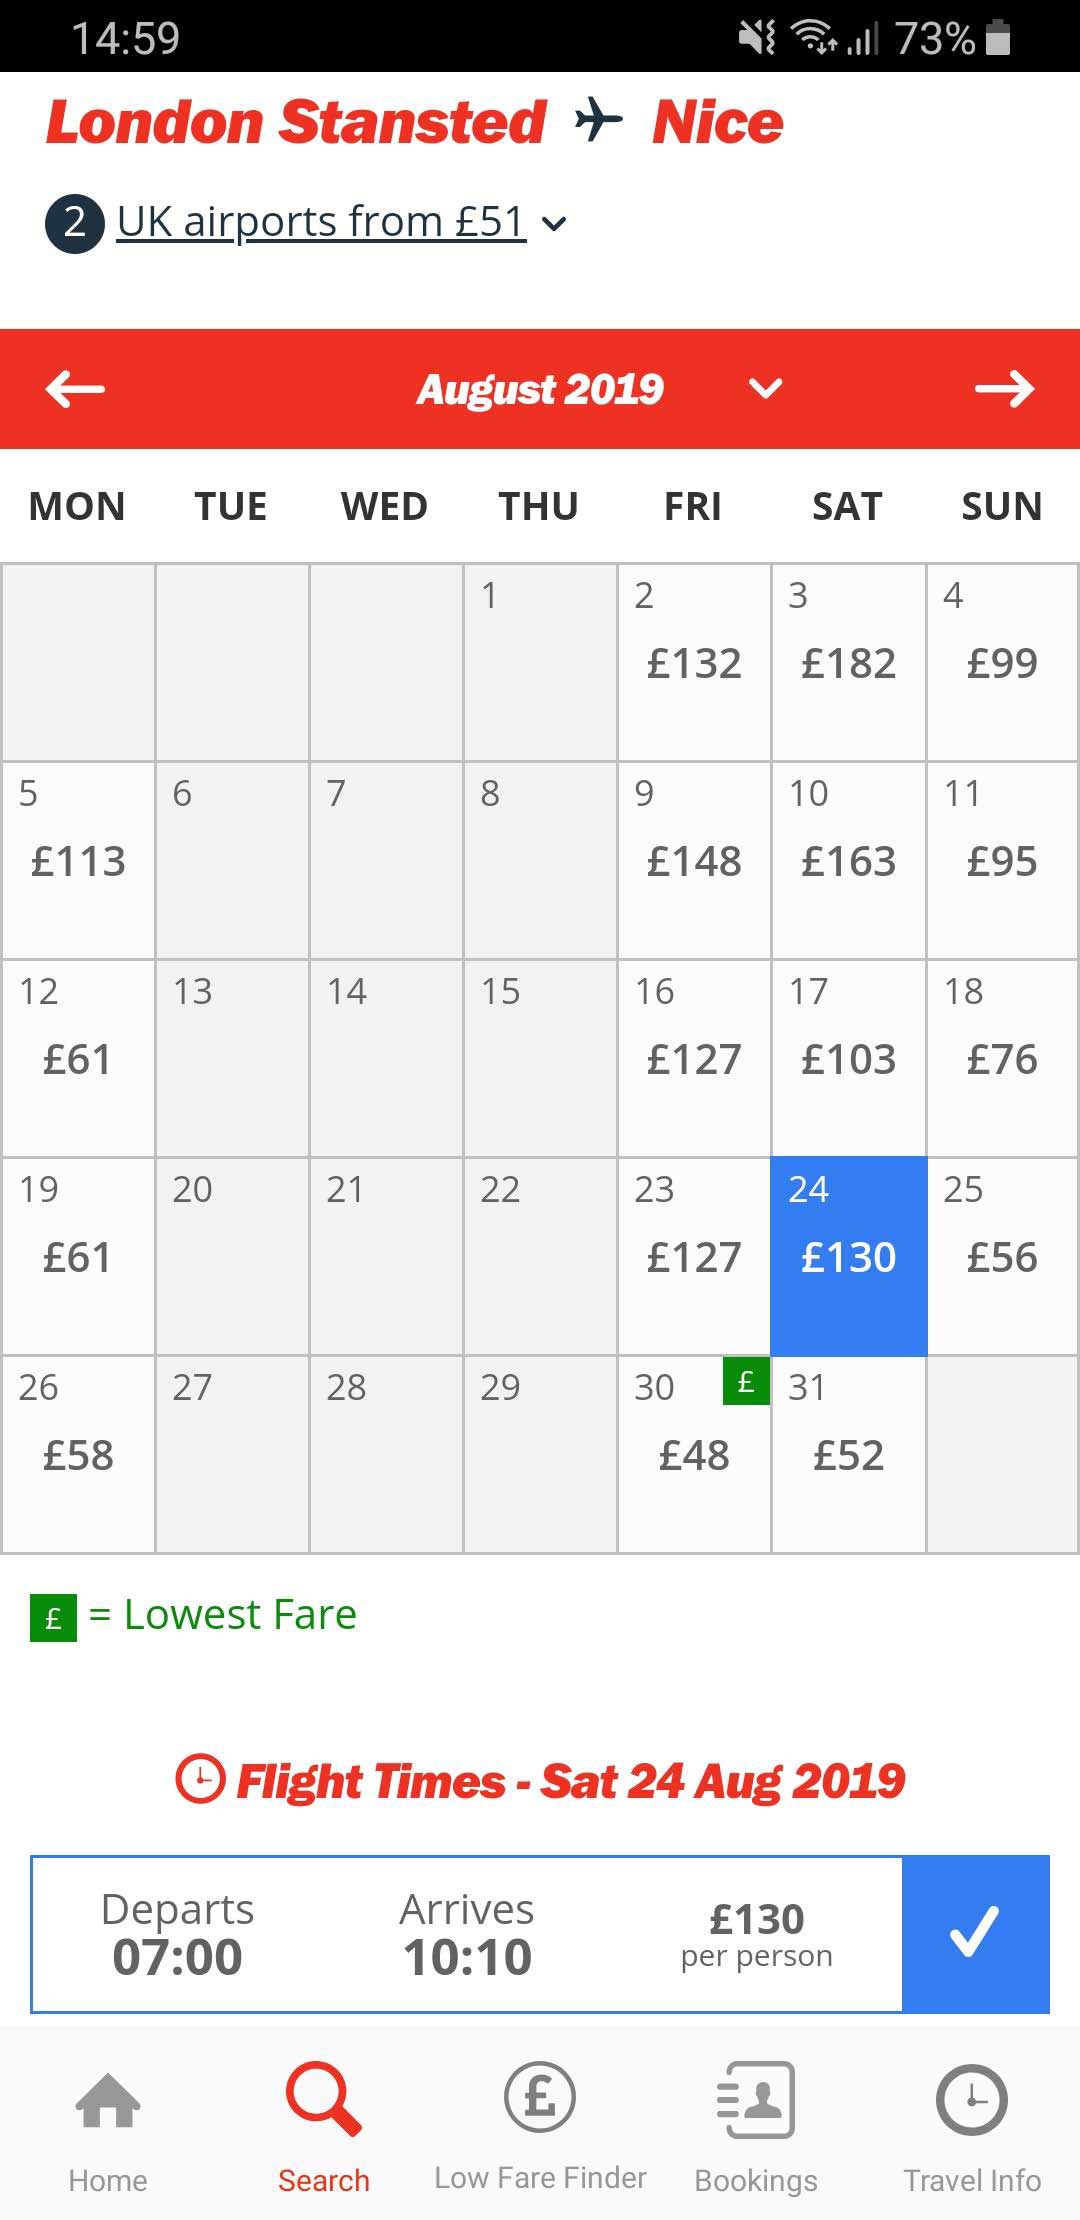
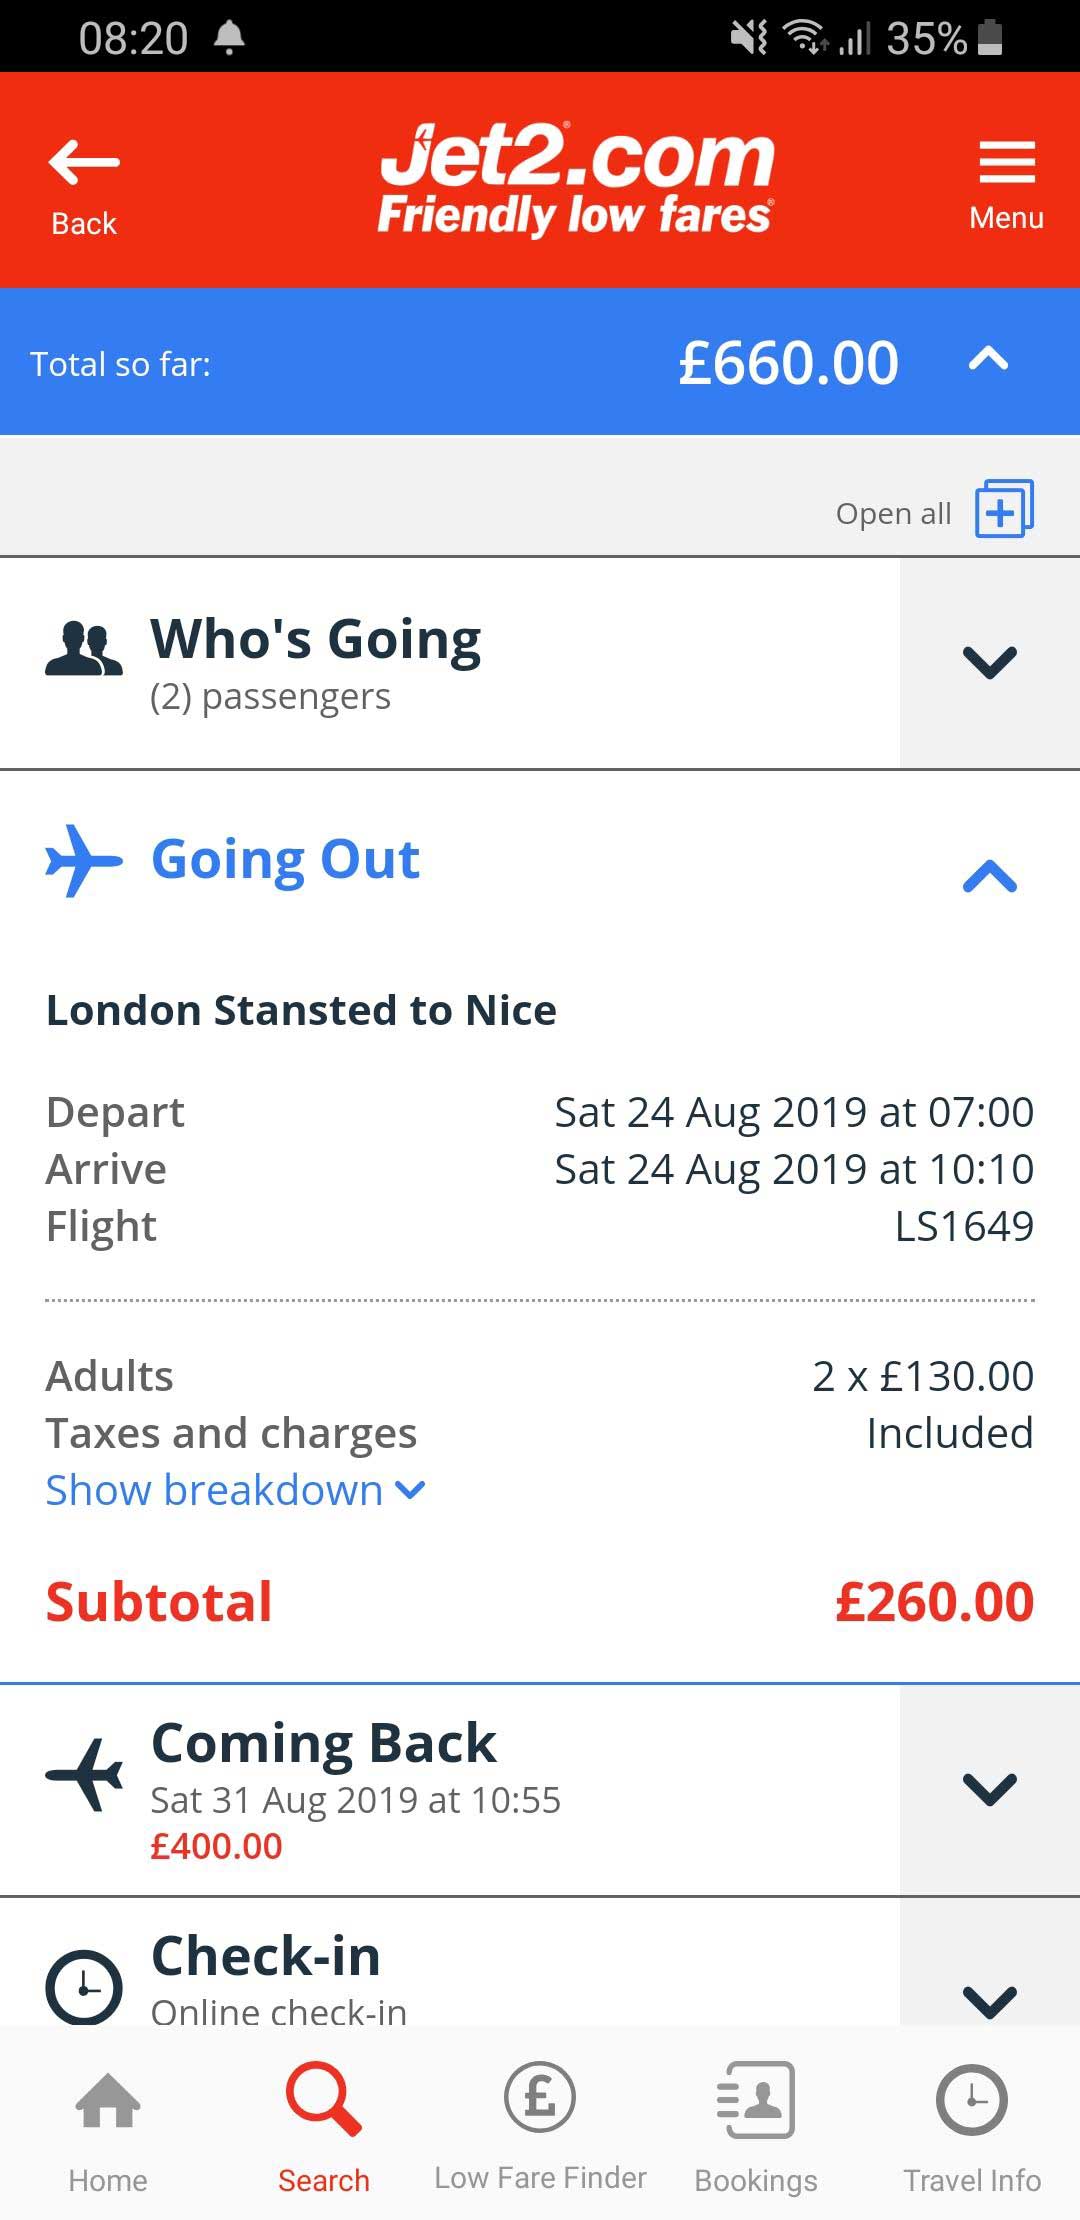
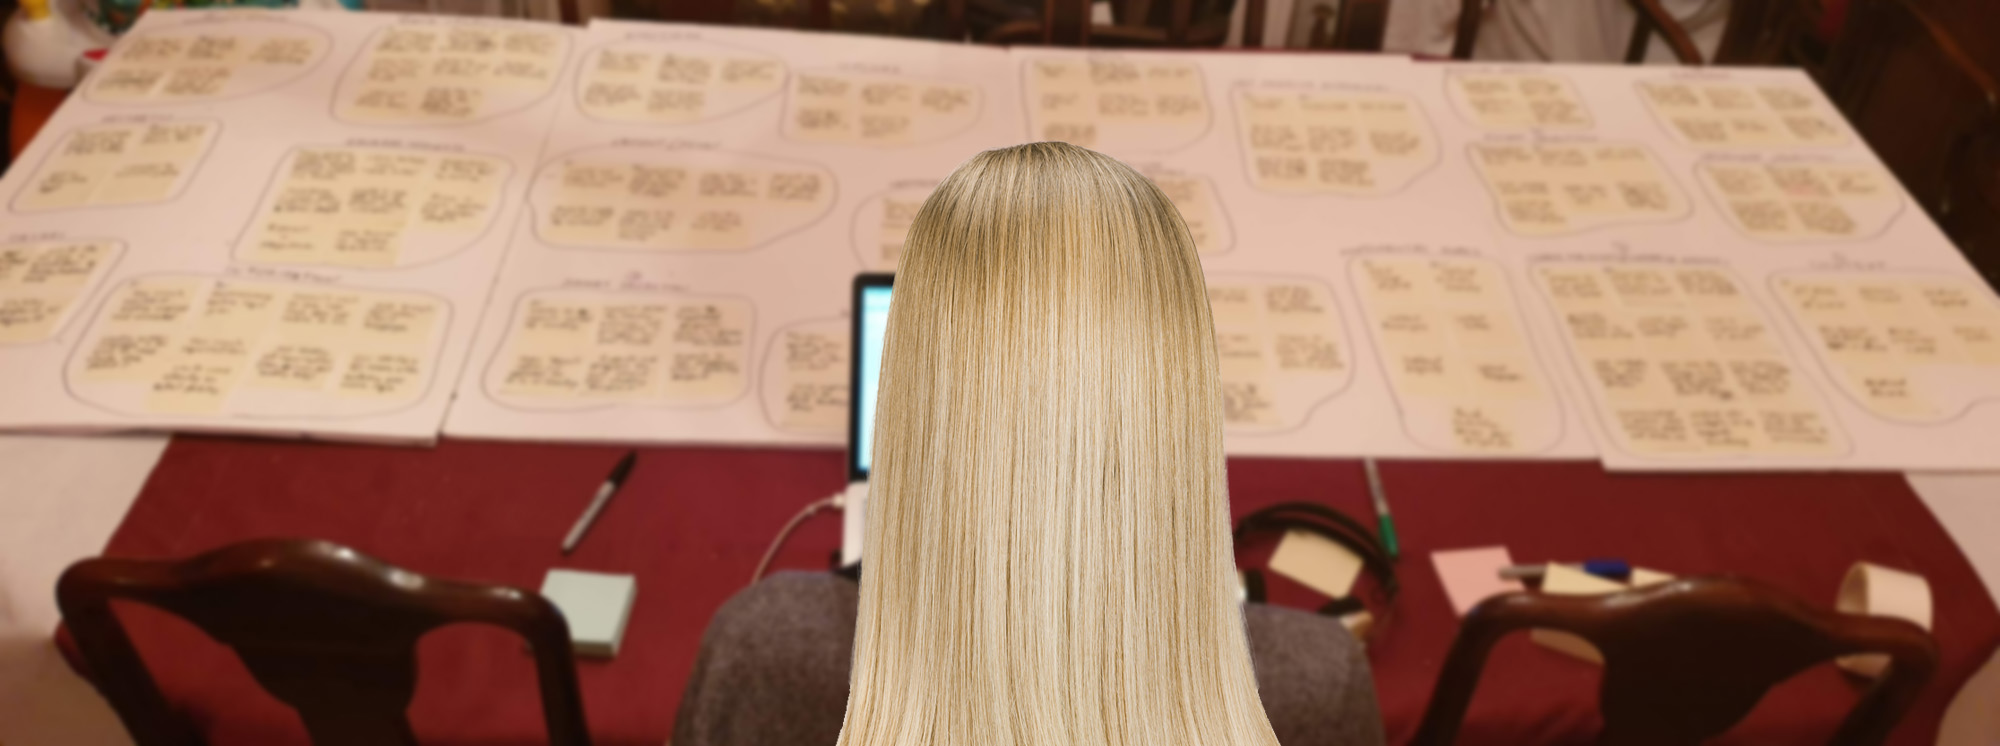
I conducted 4 Usability Tests which consisted of an interview and the completion of tasks on 2 Airline apps. I used Reflector to mirror the apps onto a laptop screen and then used Screenflow to record the session.
Usability testing was the perfect tool to utilise while conducting comparison tests as it allowed me monitor and probe real users on real airline apps. This approach could tell me a lot about how the user flows through the journey, what pain points they hit, what they would like to see improved and also of course, highlight any positive aspects I could take across to my design.
For the test itself, I set 2 tasks to be completed on 2 airline apps. This would allow me to make an accurate comparison between the apps.
TASKS
- Book a 1 week holiday for 2 adults & an infant, changing the flight day at the end.
- Book the flight again, but this time add hold luggage and oversized baggage.
-
“I don't like the way there's no click for search...in a perfect world there would be no scrolling, you just enter 3 letters and it comes up”
Usability Test 1
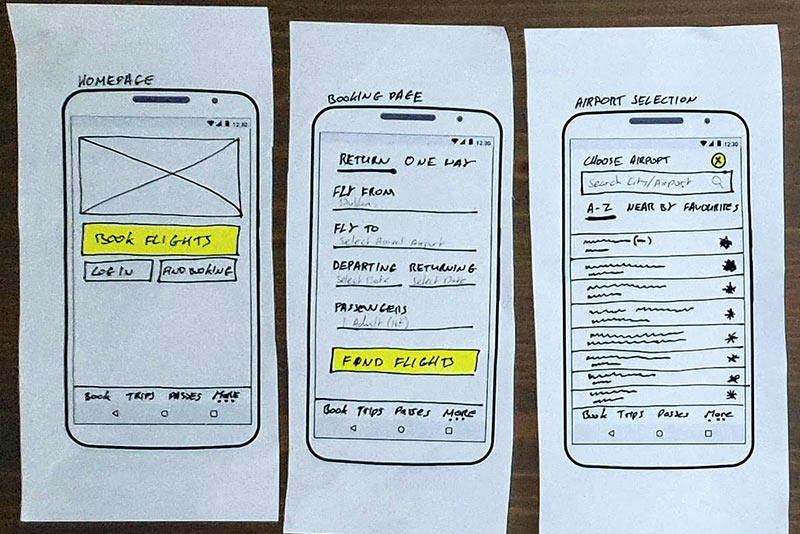
Search Functionality
Usability tests revealed that the search functionality is hugely important when selecting airports. It's not just a "handy feature", it's what the user expects. Therefore, if it's not present, they become frustrated when they're forced to manually scroll search or use an A-Z option by country.